Second Hugh Mungus Raid: Difference between revisions
m (category) |
PineCromburg (talk | contribs) No edit summary |
||
| Line 20: | Line 20: | ||
| status = | | status = | ||
| combatants_header = Belligerents | | combatants_header = Belligerents | ||
| combatant1 = [[ | | combatant1 = [[Frog Pixels United]]<br>Volunteers | ||
Volunteers | | combatant2 = [[Avery's Art Association]]<br>Volunteers | ||
| combatant2 = 'Volunteers | |||
| combatant3 = | | combatant3 = | ||
| commander1 = [[left|left]] | | commander1 = [[left|left]]<br>[[Jen]] | ||
| commander2 = [[Avery]] | | commander2 = [[Avery]] | ||
| commander3 = | | commander3 = | ||
Revision as of 01:49, 11 October 2023
| Second Hugh Mungus Raid | |||||
|---|---|---|---|---|---|
 | |||||
| Belligerents | |||||
|
Frog Pixels United Volunteers |
Avery's Art Association Volunteers | ||||
| Commanders and leaders | |||||
|
left Jen | Avery | ||||
| Strength | |||||
| 6+ | 3+ | ||||
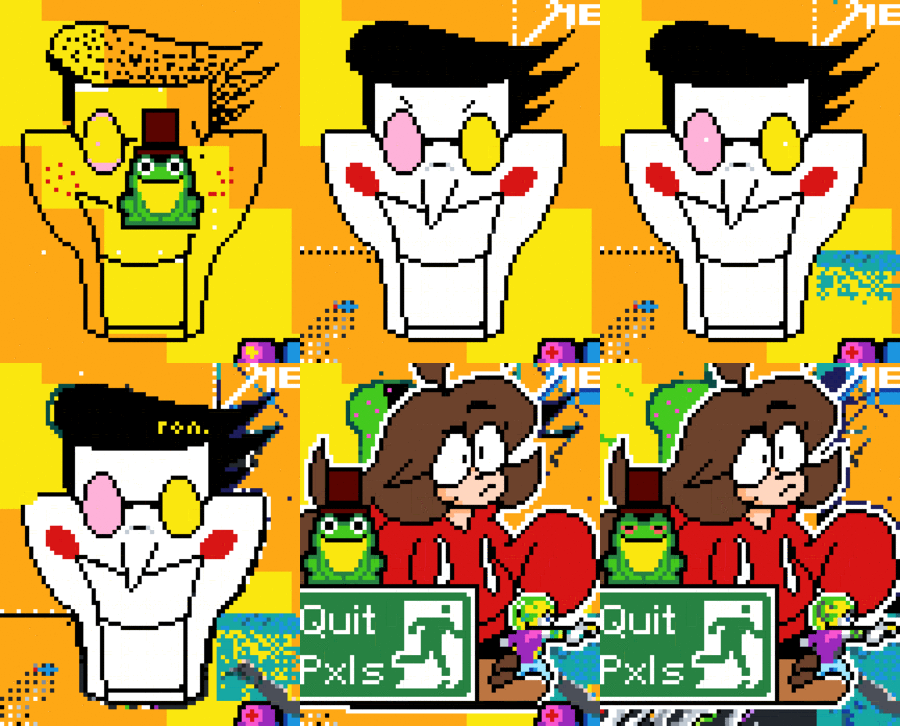
The Second Hugh Mungus Raid was another set of griefs against Avery throughout Canvas 73. Despite being called the Second Hugh Mungus Raid, Hugh Mungus himself was nowhere to be seen on the template. The name is a callback to the first major raid against Avery.
The raid was initially attempted extremely early into the canvas by left, who successfully managed to place a frog over the art. This was very quickly repaired and Avery's template remained for around roughly 2 weeks before a bigger raid was organised and unleashed on October 6th, 2023. The template was drastically increased for the second attack in order to cover almost the entirety of Avery's art.
Similar to the first raid, Catboy Castle was also griefed - however this time it was by completely different people for a reason unrelated to Avery.